Featured

How to Insulate an Attic (and DIY Mistakes to Avoid)

Let’s be honest: your attic isn’t the most popular room in the house. If you’re neglecting your attic or crawlspace, you’re not the only one. 90% of attics are under insulated, which is costing you an average $200 each year. Attic insulation traps precious heat in the winter and cool air in the summer, prolongs the life of your roof, reduces your energy bill and even improves air quality. Fortunately, you can rectify the situation by installing insulation yourself in this DIY guide that should take about a day to complete, contingent on the size of your attic and pre-existing insulation material.

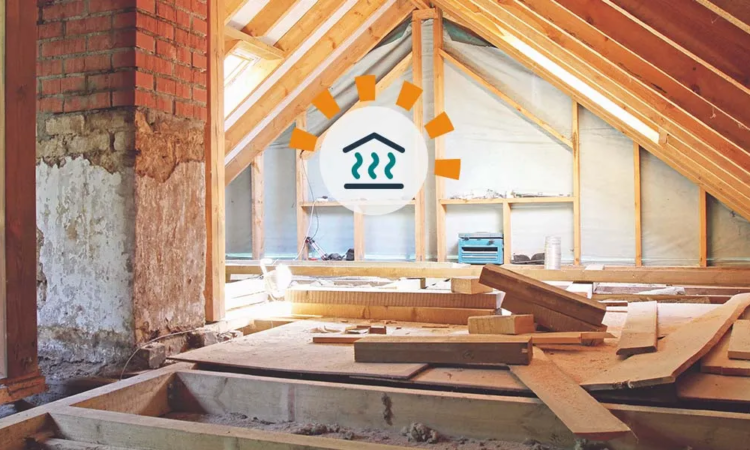
Step-by-Step Guide to Attic Insulation

Step 1: Gather Your Materials

Before starting your attic insulation project, gather all the necessary materials and tools. This includes basic items like a tape measure, utility knife, staple gun, and safety gear such as gloves, goggles, and a dust mask. For insulation, consider options like fiberglass batts or loose-fill cellulose, depending on your attic’s layout and insulation needs. Make sure you have enough material to cover the entire attic space effectively.

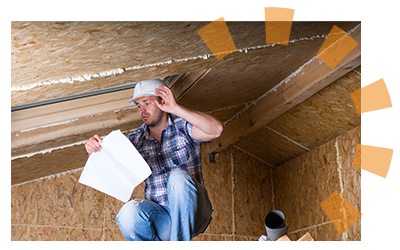
Step 2: Prepare the Attic

Prepare your attic by clearing out any stored items to create a clean, accessible workspace. Use a flashlight to inspect the attic for potential air leaks around windows, doors, wiring holes, and plumbing penetrations. Identifying and sealing these leaks before installing insulation will maximize the effectiveness of your insulation and improve energy savings.

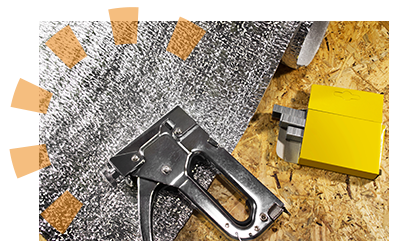
Step 3: Seal Air Leaks

Properly sealing air leaks is essential for optimizing the performance of your attic insulation. Use caulk or foam sealant to fill gaps around windows, doors, and other openings. Install aluminum flashing around chimneys and flues to create a tight seal. Addressing these air leaks will help prevent heat loss in the winter and keep your home cooler in the summer, reducing the workload on your HVAC system.

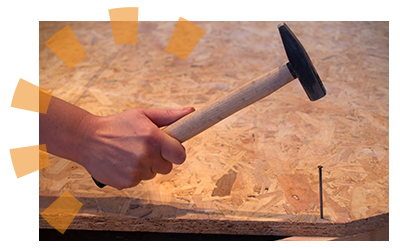
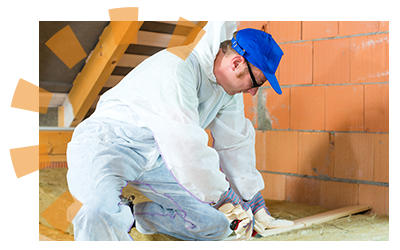
Step 4: Install Insulation

Depending on the type of insulation you’ve chosen, follow the manufacturer’s instructions for installation. For fiberglass batts or blankets, lay the insulation with the vapor barrier facing downward between the attic floor joists. Ensure a snug fit without compressing the insulation, as this can reduce its effectiveness. For loose-fill cellulose insulation, use a rake to spread it evenly across the attic floor, covering the top of the joists. Install a second layer of insulation perpendicular to the joists for optimal coverage and thermal performance. Consider renting a blower machine for loose-fill insulation to expedite the installation process and achieve uniform coverage throughout the attic space.

Step 5: Final Touches

Complete your attic insulation project by addressing any remaining areas that may contribute to heat loss. Pay special attention to insulating attic access points, such as doors or stairs. Use rigid foam boards or an insulated tent cover to create an effective barrier that prevents warm air from escaping through these openings. Properly insulating attic access points is crucial for maximizing energy efficiency and maintaining a comfortable indoor environment.

Common DIY Mistakes to Avoid

When insulating your attic, be mindful of common mistakes that can compromise the effectiveness of your insulation and overall energy savings.
  • Overstuffing Insulation: Avoid compressing insulation materials, as this can reduce their R-value and thermal performance.
  • Ignoring Air Leaks: Failing to seal air leaks before installing insulation can lead to energy loss and decreased efficiency.
  • Not Using Safety Gear: Always wear appropriate safety gear, including gloves, goggles, and a dust mask, when handling insulation materials to protect against skin irritation and respiratory issues.
  • Neglecting Attic Access: Ensure that attic doors or stairs are properly insulated to prevent heat loss and maintain consistent indoor temperatures throughout your home.

Conclusion

Insulating your attic is a worthwhile investment that offers multiple benefits, including increased energy efficiency, reduced utility bills, and improved home comfort. By following a systematic approach to attic insulation, from gathering materials and sealing air leaks to installing insulation correctly and addressing final touches like insulating attic access points, homeowners can effectively enhance the thermal performance of their homes while minimizing energy wastage. Avoiding common DIY mistakes, such as overstuffing insulation or neglecting air leaks, ensures optimal results and long-term savings. Ultimately, a well-insulated attic not only contributes to a more sustainable living environment but also adds value to the overall efficiency and comfort of your home.